Welcome to our detailed guide on how to put a picture on a polo t-shirt. You’ve come to the perfect spot if you want to personalize your wardrobe. By adding personal images or designs to your polo shirts, you can make your fashion unique. This guide provides you with a step-by-step approach for professional results, creating your own personalized photo t-shirts.
No matter your skill level, we’ll guide you through different printing methods and what materials you’ll need. Our aim is to make t-shirt personalization fun and easy for everyone.
Key Takeaways
- Learn the basics of how to put a picture on a polo t-shirt.
- Explore different printing methods, including DIY and professional services.
- Understand the materials and tools needed for successful custom polo shirt printing.
- Get expert design tips for creating the perfect personalized photo t-shirts.
- Access a step-by-step guide to ensure a smooth image transfer process.
Introduction to Custom Polo Shirt Printing
Customizing polo shirts has become increasingly popular, offering a mix of personal style and professional branding. It’s a great way to come up with unique polo shirt customization ideas for yourself or to boost your company’s image. Knowing the benefits and processes helps improve your custom shirt projects.
Why Customize a Polo Shirt?
There are many good reasons to customize a polo shirt. It lets us show who we are. By putting designs or pictures on them, we highlight our personal tastes. Also, companies use these shirts to make their brand stand out. For instance, Top Golf Apparel uses branded clothing to be recognized easily.
The Benefits of Personalized Polo Shirts
Personalized polo shirts offer big benefits. They help create a unique identity for companies, making them noticeable. Plus, a shirt with a custom picture or text makes a great keepsake for events or gifts. With private label golf apparel, businesses get top-quality, unique designs that grab attention.

These shirts are practical and boost our style in many ways. Thanks to their utility and look, it’s clear why they’re so wanted.
Materials Needed for Polo Shirt Customization
DIY polo shirt printing is fun and rewarding if you have the right tools and materials.
Essential Tools for DIY Polo Shirt Printing
To customize your polo shirt, it’s important to have the right tools. You’ll need several key items:
- Heat Press Machine: Perfect for various design methods.
- Sublimation Printer: For top-notch image printing.
- Heat Transfer Paper: For transferring designs to the shirt.
- Cutting Mat and Rotary Cutter: Ensures accuracy in cutting.
- Teflon Sheets: Keeps your shirt safe during transfer.
These tools are key for DIY polo shirt printing. They help achieve a professional look.
Choosing the Right Polo Shirt Fabric
The materials you choose for your polo shirts are crucial. The fabric affects your design’s quality and durability. There are a few popular choices:
| Fabric Type | Advantages | Best For |
|---|---|---|
| Cotton | Breathable, soft, and comfortable | Everyday wear, casual events |
| Polyester | Durable, moisture-wicking, and bright colors | Sports, active clothing |
| Blended Fabrics | Combines cotton and polyester benefits | Various events, including corporate |
Selecting top-quality fabrics is key for customization. Polyester and blended fabrics are great for sublimation printing. Look at these high-end materials for sports clothing to understand quality.

How To Put a Picture on a Polo T-Shirt
Making a plain polo shirt into a stylish item involves a few key steps. Photo transfers onto fabrics are quite trendy nowadays.
Let’s look at different ways to image transfer on polo shirts. You can use heat transfer vinyl, sublimation, or direct-to-garment printing. Each method has its own benefits and looks.
For those asking how to put a picture on a polo t-shirt, it’s pretty simple. First, pick the image you want. Then, prepare it correctly, and select the best application method. You can find top-quality materials from reliable suppliers here.
If you’re looking for personalized photo t-shirts near me, local stores can help. They ensure your custom designs are made with care and accuracy.
We’ll look closer at each method in the next parts. This will help you get pro results at home. Our guide has everything for DIY fans and those preferring professional help.
Design Tips for Polo Shirts
Creating a custom polo shirt is exciting. Whether for a team or to show your style, key tips can make your design shine. Here, we’ll explore these tips to make your t-shirt designs memorable and professional.

Choosing the Perfect Picture
Choosing the right picture is key. You need high-quality images that stay vibrant. Make sure they connect well with your theme. For tips on picking and preparing images, check out our quality material customization guide.
Design Software Recommendations
Using design software can up your game. Tools like Adobe Illustrator and CorelDRAW, or even Canva, offer tons of help. They have templates, fonts, and colors to help your polo shirt design stand out.
Layout and Placement Tips
Where you place your image matters a lot. Centering it on the chest grabs attention. For something different, try the back or over a pocket. Make sure everything is balanced for a polished look.
Simple and cohesive designs work best. Use these tips, quality images, and good software to improve your designs. For more help, revisit our guide on quality golf apparel.
Step-by-Step Guide to Image Transfer on Polo Shirts
Want to make your polo shirt special? Use our guide to add a custom image. Adding a picture to a polo t-shirt can make it stand out. Follow our detailed, step-by-step method to transfer an image.
Preparing the Image for Transfer
First, get your image ready for the step-by-step image transfer. Pick a high-quality image for a clear look. Use software like Adobe Photoshop or GIMP to adjust and improve your image. It’s important to size the image well for your shirt. Always do a trial print on paper before you transfer the image.
Printing the Image
Now, print your prepared image. For DIY polo shirt printing, you need the correct transfer paper. Choose paper suitable for your shirt’s fabric, like cotton or polyester. Set your printer to ‘mirror image’ for heat transfer. After printing, let the ink dry completely.
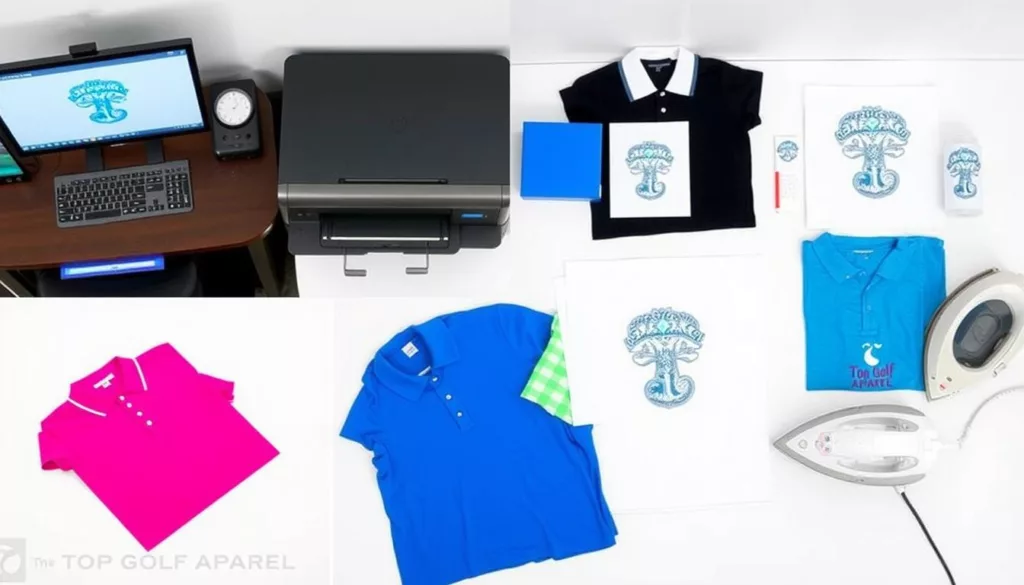
These step-by-step image transfer tips will make your design look great on your shirt. This method is perfect for creating custom apparel for golf teams or personalized gifts. Follow these steps to make a shirt that shows off your creative side.
Method 1: Heat Transfer Technique
We’ll show you how to put a picture on a polo using heat transfer. You’ll prepare the transfer paper, use a heat press, and keep the design lasting long. Follow these steps for pro-looking shirts.
Preparing the Heat Transfer Paper
Pick top-quality heat transfer paper that works with your printer. Before printing, make sure your image is the right size and flipped for the shirt. Print on the glossy side and let it dry.
Using a Heat Press Machine
Heat your press to the suggested settings. Smoothly place the shirt on the machine. Then, put the image on the shirt, image-side down. Close the press slowly, following the time advice.
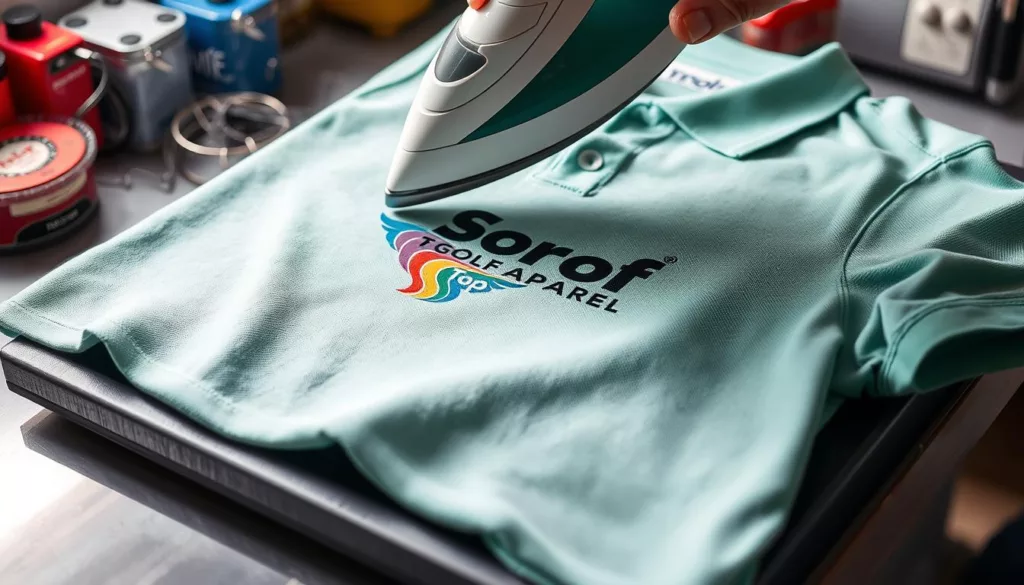
Finalizing the Design
Open the press when done and peel off the paper while the shirt’s warm. Let the shirt cool to fix the design. For shirts that last, follow the washing tips closely.
For info on custom clothes or golf hoodies, check our guide. It covers global shipping, quality checks, and user reviews.
Method 2: Sublimation Printing
Sublimation printing is great for those wanting clear, high-quality designs on polo shirts. It lets us transfer detailed, colorful images perfectly. It’s best for polyester, making it the top pick for personalized polo shirt printing.
The big plus of sublimation printing is embedding ink right into the fabric. This means designs stay put, even after many washes. Plus, it keeps shirts light and comfy. Our custom polos are both good-looking and wearable daily.
Let’s explain the sublimation printing steps simply:
- Design Creation: Pick or make a clear image to transfer. Adobe Illustrator or Photoshop is best for this.
- Print on Sublimation Paper: Print your design onto special paper using a sublimation printer. Check print settings for true colors and details.
- Heat Transfer: Put the printed paper, image down, on the shirt. A heat press applies heat and pressure. This turns the ink to gas, letting it soak into the fabric.
For creative polo shirt customization ideas, knowing your fabric matters. Sublimation printing shines on light, 100% polyester shirts. It’s not for cotton or dark fabrics. This method is ideal for bright, full-color images on our polos.
| Feature | Heat Transfer | Sublimation Printing |
|---|---|---|
| Color Vibrancy | Moderate | High |
| Durability | Good | Excellent |
| Fabric Compatibility | Various (including cotton) | Polyester fabrics only |
| Texture | May change fabric feel | Retains original fabric feel |
Using sublimation printing lets us make long-lasting, vivid, custom polo shirts. Perfect for logos or detailed art, it ensures our shirts catch the eye. Dive into polo shirt customization ideas with sublimation for an improved look.
DIY Polo Shirt Printing at Home
Creating personalized polo shirts at home is fun and rewarding. With the right techniques and some important tips, anyone can get professional results.
Homemade Techniques for Custom Polo Shirts
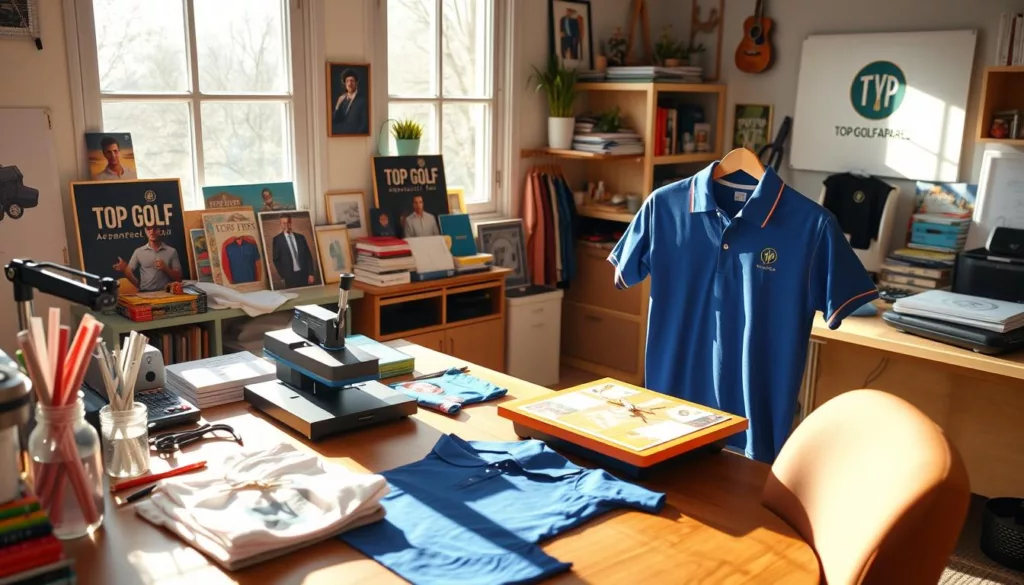
One of the easiest methods for diy polo shirt printing is using heat transfer paper. You print your image on special paper. Then, transfer it onto the shirt with a household iron. Another good method is sublimation printing, needing special inks and paper.
Both ways are popular for homemade polo shirt customization. You might also try fabric paints and stencils. This needs more art skill but lets you be very creative. Or, use screen printing kits for a traditional print look.
Tips for Achieving Professional Results
To make your homemade polo shirt customization look its best, follow these tips:
- Always pre-wash your polo shirts to stop shrinkage and ensure smooth fabric.
- Use high-quality transfer or sublimation paper for better prints.
- Pick a high-resolution image to avoid blurry prints on the shirt.
- Try your technique on scrap fabric before the final shirt.
- Look online for tutorials or groups about diy polo shirt printing.
Whether you want unique gifts or team uniforms, mastering these techniques helps a lot. If you prefer a more professional look, local shops offer personalized photo t-shirts near me. This gives you another option besides DIY.
Professional Polo Shirt Customization Services
When you’re looking for professional polo shirt customization services, choosing the right shop is crucial. Customized polos enhance your brand and add a unique touch to your style. This guide will help you pick the best service for your needs.

Finding a Customization Shop Near You
To find the best custom polo shirt printing service, start by searching online. Look at online directories and read customer reviews to find good providers. Then, check their work to make sure they can create what you’re looking for.
Factors to Consider When Choosing a Service
Choosing the right customization service is important. Here are some things to think about:
- Technique Options: The shop should offer various methods like screen printing, embroidery, and heat transfer.
- Cost: Look for good deals but don’t sacrifice quality. High prices often mean better quality.
- Turnaround Time: Find out how fast they can finish your order, especially if it’s urgent.
- Reviews and Testimonials: Reading feedback from others can help you understand their experiences.
These tips will help you find a great service for your custom polo shirt needs.
| Customization Techniques | Pros | Cons |
|---|---|---|
| Screen Printing | Durable, Vibrant Colors | Costly for Small Orders |
| Embroidery | Professional Look | Limited Color Choices |
| Heat Transfer | Great for Complex Designs | Less Durable with Frequent Washes |
By considering these factors, you can get high-quality, personalized polos that suit your style and needs.
Caring for Your Custom Polo Shirt
The right care can greatly improve your custom polo shirt’s lifespan. We’ll give you essential tips to keep your shirts looking great.

- Always turn your custom polo shirt inside out before washing to protect the printed image.
- Use cold water and a mild detergent to avoid damaging the fabric and the print.
- Avoid bleach and other strong chemicals that can deteriorate the quality of your personalized photo t-shirts.
Drying
- Air drying is the best option for custom polo shirts. It helps preserve the fabric’s quality and the image’s vibrancy.
- If you use a dryer, set it to a low heat setting. This minimizes the risk of cracking or fading the print.
Storing
- Store your shirts in a cool, dry place. Avoid exposure to direct sunlight or high humidity.
- For added protection, fold the shirts neatly and store them in a drawer or a breathable garment bag.
Choosing high-quality materials can greatly affect your shirts. For a guide on picking the right fabrics, read this fabric selection guide for golf apparel.
Here’s a quick guide to help you choose the best care methods:
| Care Method | Description | Best Practice |
|---|---|---|
| Washing | Cleans the shirt while preserving the print. | Use cold water and mild detergent. |
| Drying | Removes moisture without damaging fabric or print. | Air dry or use low heat in the dryer. |
| Storing | Protects the shirt from environmental damage. | Store in a cool, dry place; fold neatly. |
Good care is key for your personalized t-shirts. By taking these steps, you can keep your custom polo shirts looking as new as the first time you wore them.
Common Mistakes to Avoid in Polo Shirt Customization
Knowing how to correctly put a picture on a polo t-shirt is key to enhancing your wardrobe. However, several mistakes in polo shirt customization can harm your custom apparel’s quality and look. Let’s dive into some common pitfalls to avoid.
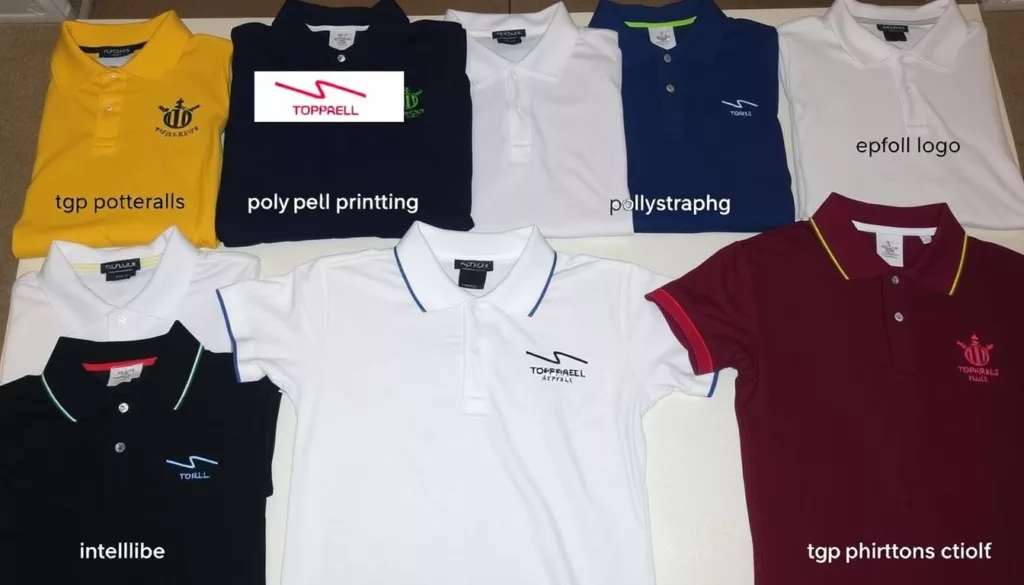
One big error is using a low-resolution image for t-shirt picture design. High-resolution images make sure your prints look sharp and bright. Also, if the picture is placed wrong, it can mess up the overall look. Always check the picture’s alignment to keep things balanced.
Choosing unsuitable fabrics for customization is another issue. Some materials do not work well with transfer techniques, which causes peeling or fading. It’s vital to select polo shirts made for image transfers.
Other mistakes include:
- Not pre-washing the polo shirt, causing fabric shrinkage and a distorted image after printing.
- Ignoring heat transfer material instructions, leading to a bad application and a disappointing finish.
- Failing to consider color contrasts between the image and shirt, making the design look unappealing.
To avoid these errors, follow a thorough process. Look into heat transfer and sublimation printing guides that match your fabric. Always do a pre-test on a spare piece of fabric.
In summary, paying close attention and planning carefully will significantly better the result of your custom polo shirts. This makes them truly stand out for the right reasons.
| Common Mistakes | Reasons | Solutions |
|---|---|---|
| Low-Resolution Images | Poor print quality | Use high-resolution images |
| Incorrect Image Placement | Unbalanced design | Double-check alignment |
| Unsuitable Fabrics | Poor adhesion and durability | Choose transfer-friendly fabrics |
Conclusion
As we conclude, let’s remember the joy and benefits of making your own polo shirts. Getting to show off your style or logo with DIY polo shirt printing brings great joy and sparks creativity.
Using them for yourself or to promote your business, following our concluding tips for customized polo shirts guarantees great outcomes. It’s all about careful planning, picking quality materials, and using the best techniques.

The mix of old-school methods and new tech has made diy polo shirt printing final thoughts easy for all. Whether you choose heat transfer or sublimation, each approach has its own perks for your project.
To wrap up, customizing polo shirts is a rewarding and enjoyable journey. We hope this personalizing polo shirt summary motivates you to begin your venture. Create unique polos that showcase your individual flair.
FAQ
How can I put a picture on a shirt?
To put a picture on a shirt, you can try different methods. Heat transfer, sublimation printing, and using transfer paper with an iron are options. Your choice will depend on what you have at home and the shirt’s fabric.
How much does it cost to put an image on a shirt?
The price to add an image to a shirt changes with the method and if you do it yourself or get professional help. Doing it yourself can cost to for each shirt. Hiring pros can make the price go from to per shirt, based on the design’s details and how many you make.
What is it called when you put a picture on a shirt?
Putting a picture on a shirt is usually called “shirt printing” or “shirt customization.” There are specific ways to do it like heat transfer and sublimation printing.
Can a photo be printed on a t-shirt?
Yes, you can print a photo on a t-shirt using several methods. Heat transfer paper, sublimation printing, or direct-to-garment printing are some ways. Each method works best with certain fabric types and gives a unique finish.
Can you put a picture on a shirt without transfer paper?
It is possible to put a picture on a shirt without using transfer paper. You can opt for direct-to-garment printing or screen printing. These methods usually need special tools though.
What do I need to print pictures on t-shirts?
To print pictures on t-shirts, you need a few things. These include a digital picture, a computer with design software, and a printer for transfer paper or a sublimation printer. You’ll also need transfer paper or sublimation inks, a heat press or an iron, and t-shirts. For top-notch results, consider hiring professionals.

